Our final adventure with egg dyeing was the most toddler-friendly yet! Unlike using the food dye, using the liquid watercolors was much less stressful. Whatever got on our hands easily washed off, and I know from experience that the liquid watercolors wash out of clothing well, so I could breathe a little easier. :)
I've seen white crayon resist Easter Eggs before, but I've always seen it done with cold hard-boiled eggs. We decided to mix it up a bit and use the just out of the water hard-boiled eggs. They were quite warm, so S opted to use a folded paper towel to hold on to them. The white crayon glides on so easily when the eggs are hot - I really think a toddler could do this part (though you may need to help them hold the egg in place - they tend to roll away!).
S tended to just color in one spot, so I demonstrated how to make squiggly lines. We talked about how there wouldn't be any dye where the white crayon was, so it would look cooler to create spaces between crayon lines for the dye to fill in.
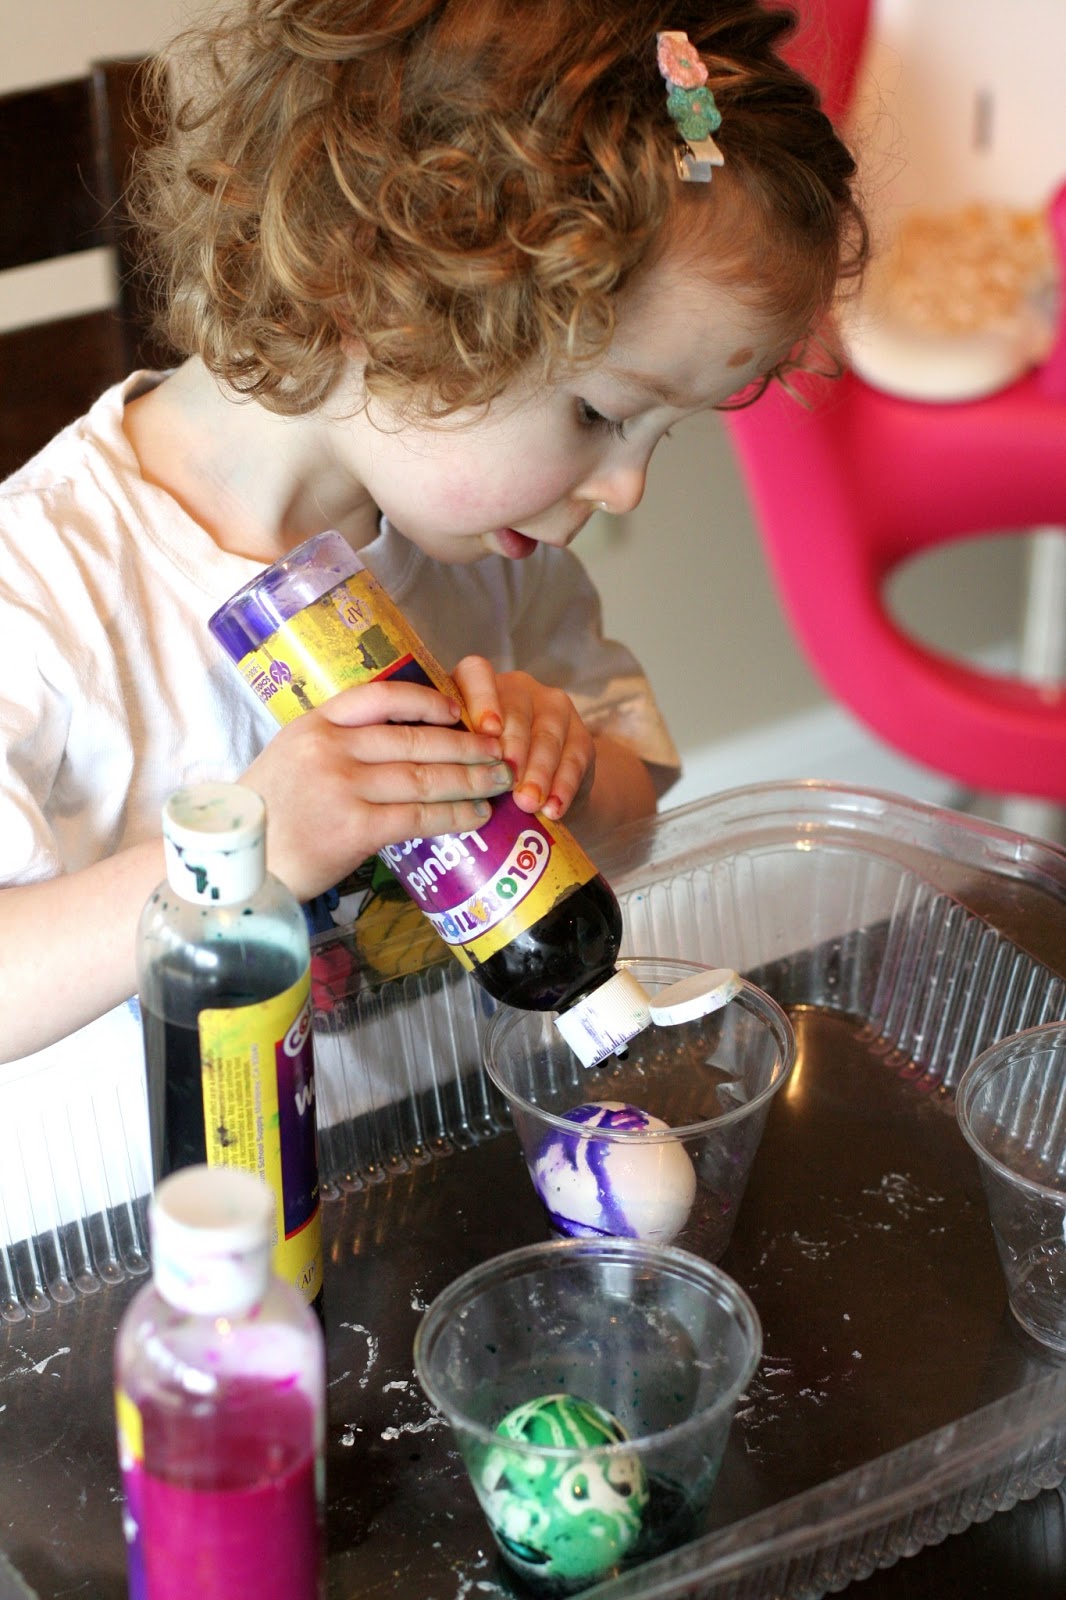
After S was done coloring with the white crayons, I put the eggs in the fridge for 10-15 minutes until they were cool enough that the crayon decorations were no longer melty. Then I gave the eggs a quick rinse with vinegar, and while still wet with vinegar (but not sitting in it), I had S squeeze the liquid watercolor of her choice over the egg. S oohed and aahed over the reveal of the white crayon design.
Here she is making her purple egg. We didn't need to use much of the liquid watercolors, and I was pleasantly surprised at how easily she could manipulate the bottles - the opening was small enough that just the right amount of liquid watercolor would come out (it didn't come gushing out, thankfully!) and she could easily squeeze and "aim" the bottle.
And now for the pink egg! We have the "tropical" liquid watercolors because I enjoy the added brightness. They look almost neon on our eggs! After squirting some color over the eggs, I swished/swirled the egg within the cup for about 10 seconds and then I just patted them dry.
The finished product is super cool, and it was soooo easy. Basically no mess was created - no stained hands or clothes, and S could do all the steps herself. Because of the kid-friendliness of this method, I think this was our favorite way to dye eggs (though the Tie Dye eggs are undeniably beautiful as well!)
You can find our other Easter activities here!
Follow along with Fun at Home with Kids on Facebook, Google+, Pinterest or Subscribe by Email or Bloglovin'!
All activities here are activities I feel are safe for my own children. As your child's parents/guardians, you will need to decide what you feel is safe for your family. I always encourage contacting your child's pediatrician for guidance if you are not sure about the safety/age appropriateness of an activity. All activities on this blog are intended to be performed with adult supervision. Appropriate and reasonable caution should be used when activities call for the use of materials that could potentially be harmful, such as scissors, or items that could present a choking risk (small items), or a drowning risk (water activities), and with introducing a new food/ingredient to a child (allergies). Observe caution and safety at all times. The author and blog disclaim liability for any damage, mishap, or injury that may occur from engaging in any of these activities on this blog.


I am looking to do this with my group of toddlers in my nursery class (25 toddlers and we are 2 teachers). Was it too difficult for her to hold the egg by herself? I mean, should we be worried about the eggs getting broken very easily?
ReplyDeleteIt wasn't, but she had moderately good fine motor skills. Make sure you hardboil the eggs first that way if they do crack it won't be a big mess! :)
Delete25 Toddlers, and only two teachers? Forget about the mess of breaking an egg... I'd be concerned about your ratio! That's insane. I have 14 2's and two teachers and I think that's already too many..
Delete