Fun at Home with Kids

What are Liquid Watercolors and Why Would You Want Them?

Friday, August 30, 2013

If you've spent any time nosing around my site, you've probably noticed that I am slightly...OK, maybe more than slightly...obsessed with Liquid Watercolors.  Since Liquid Watercolors are not an art supply you typically encounter, and definitely not one that you typically see on a list of kid's art supplies - I figured it would be a good idea to write a post all about what Liquid Watercolors are, how we use them, and also provide some ideas for different brands of Liquid Watercolors and where you can find some of your own!


So what are they and why do I find them SO amazing?


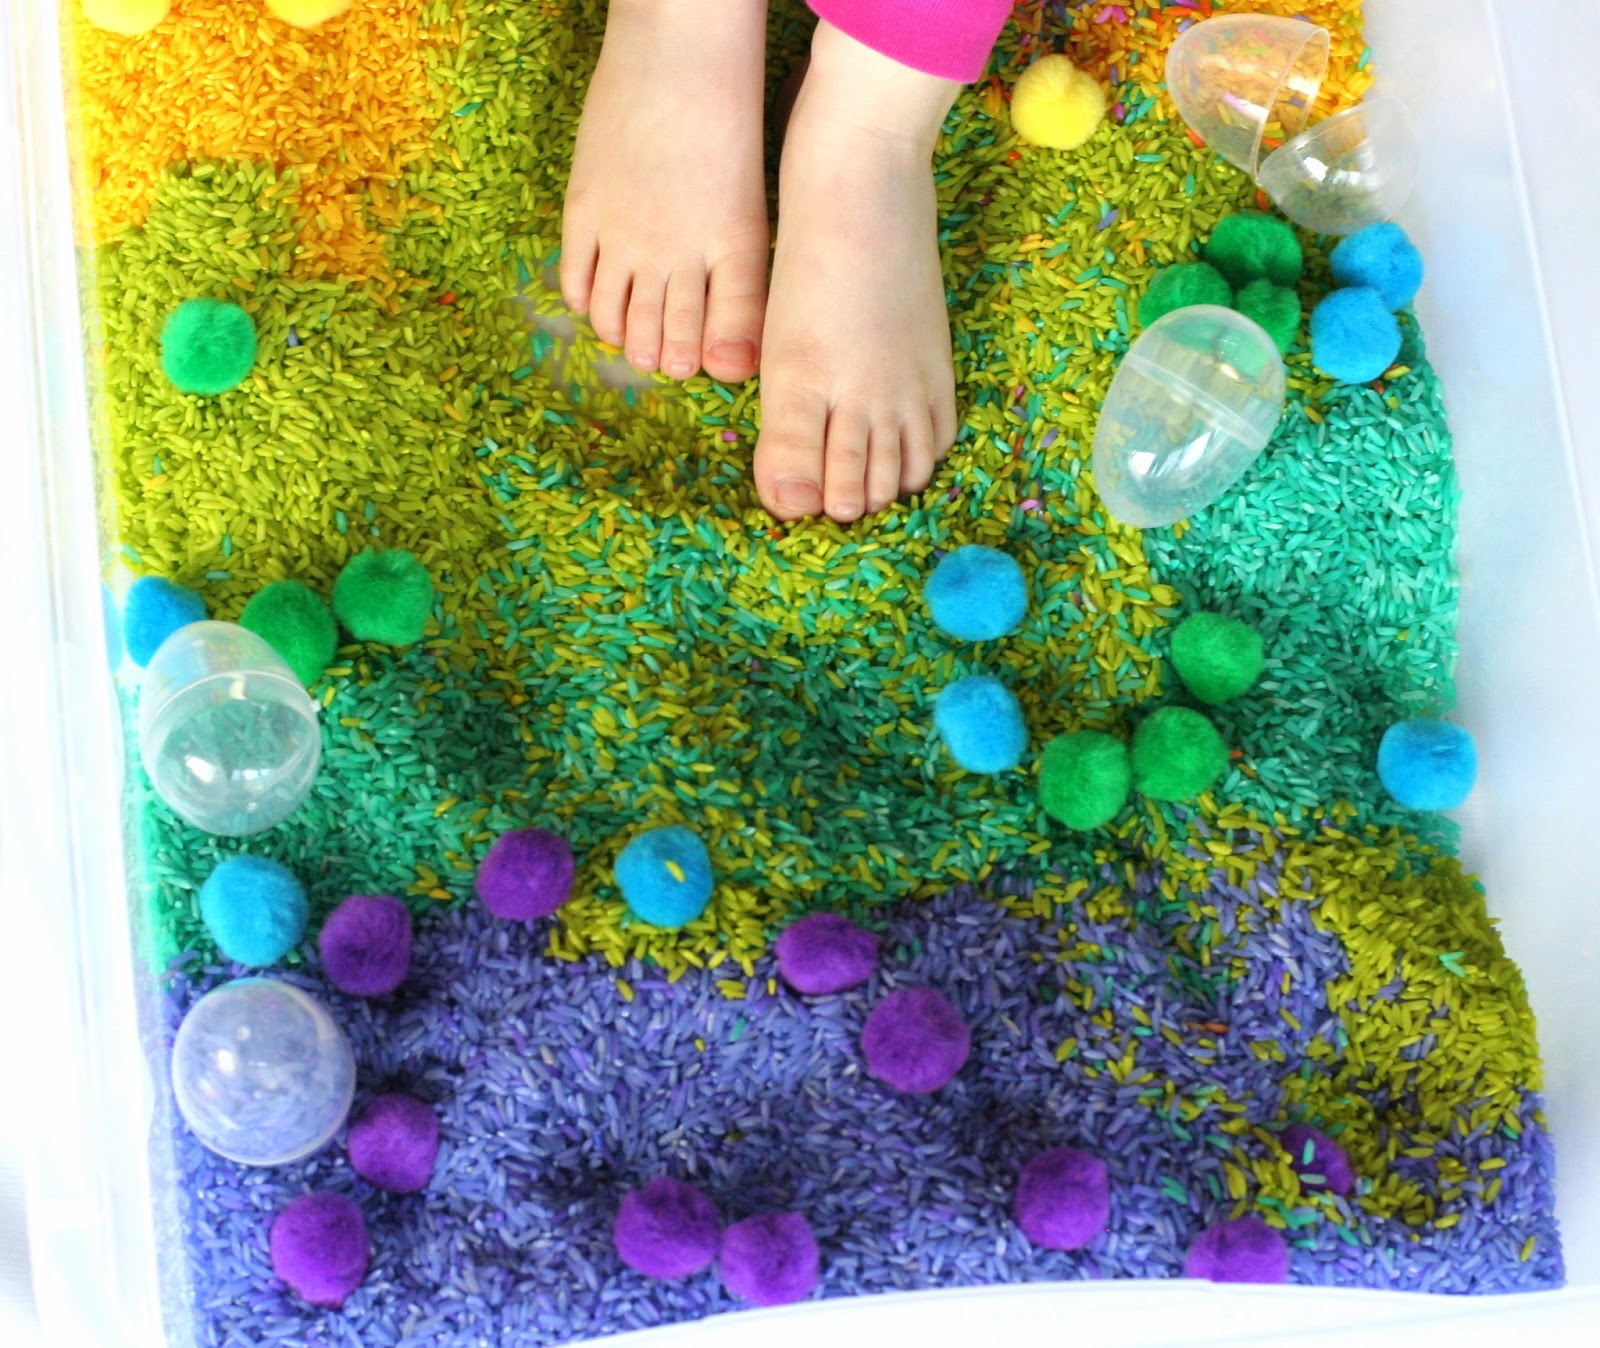
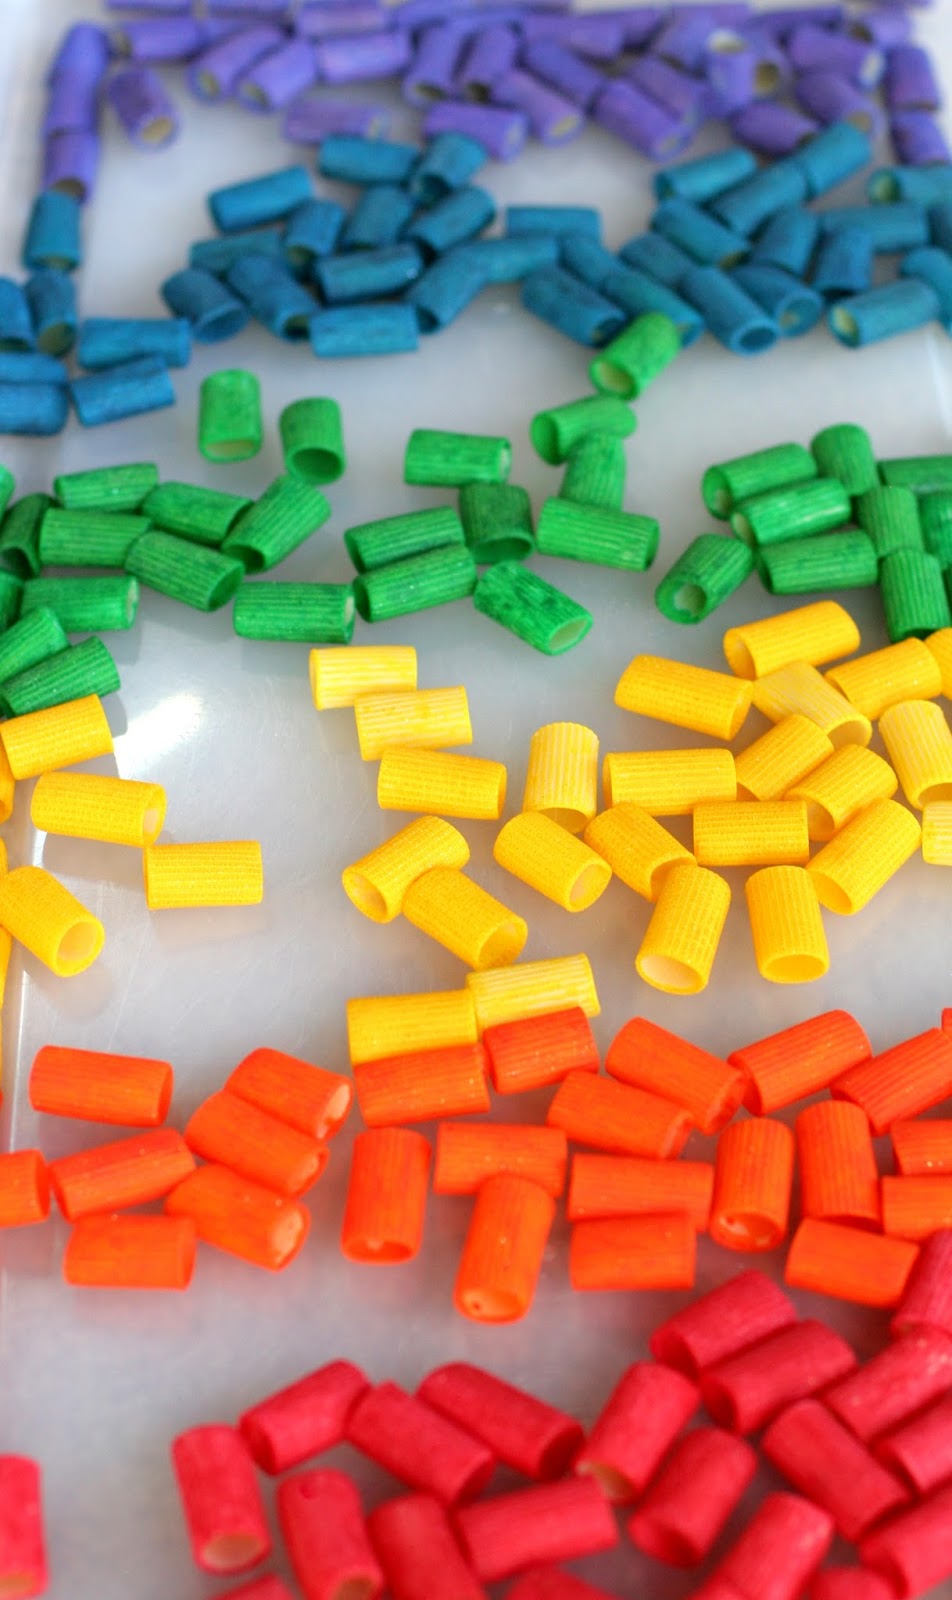
First off, they are a fabulous substitute for food coloring.  They are WASHABLE, they are more vibrant, they are easier to use.  Not to mention, unless you get some sort of crazy deal on your food coloring - they are also cheaper!  It used to take me at least a whole pack of food coloring to make a batch of rainbow rice.  I barely put a dent in our liquid watercolors doing the same thing.  So while the initial investment is more than a box of food coloring - ultimately this will save you money if you add color to your sensory plays and projects.

We use Liquid Watercolors in our recipe for Rainbow Soap Foam

Next, they are gorgeous GORGEOUS watercolors.  We used to use the regular colored disc watercolors, but they get mucky quickly and it's also hard to find a brand that produces bright vibrant colors.  Now when S wants to paint with watercolors, I squirt a little of each color she wants into a ice tray or into some plastic cups (depending on the project).  It's much easier and less messy and the results are phenomenal.

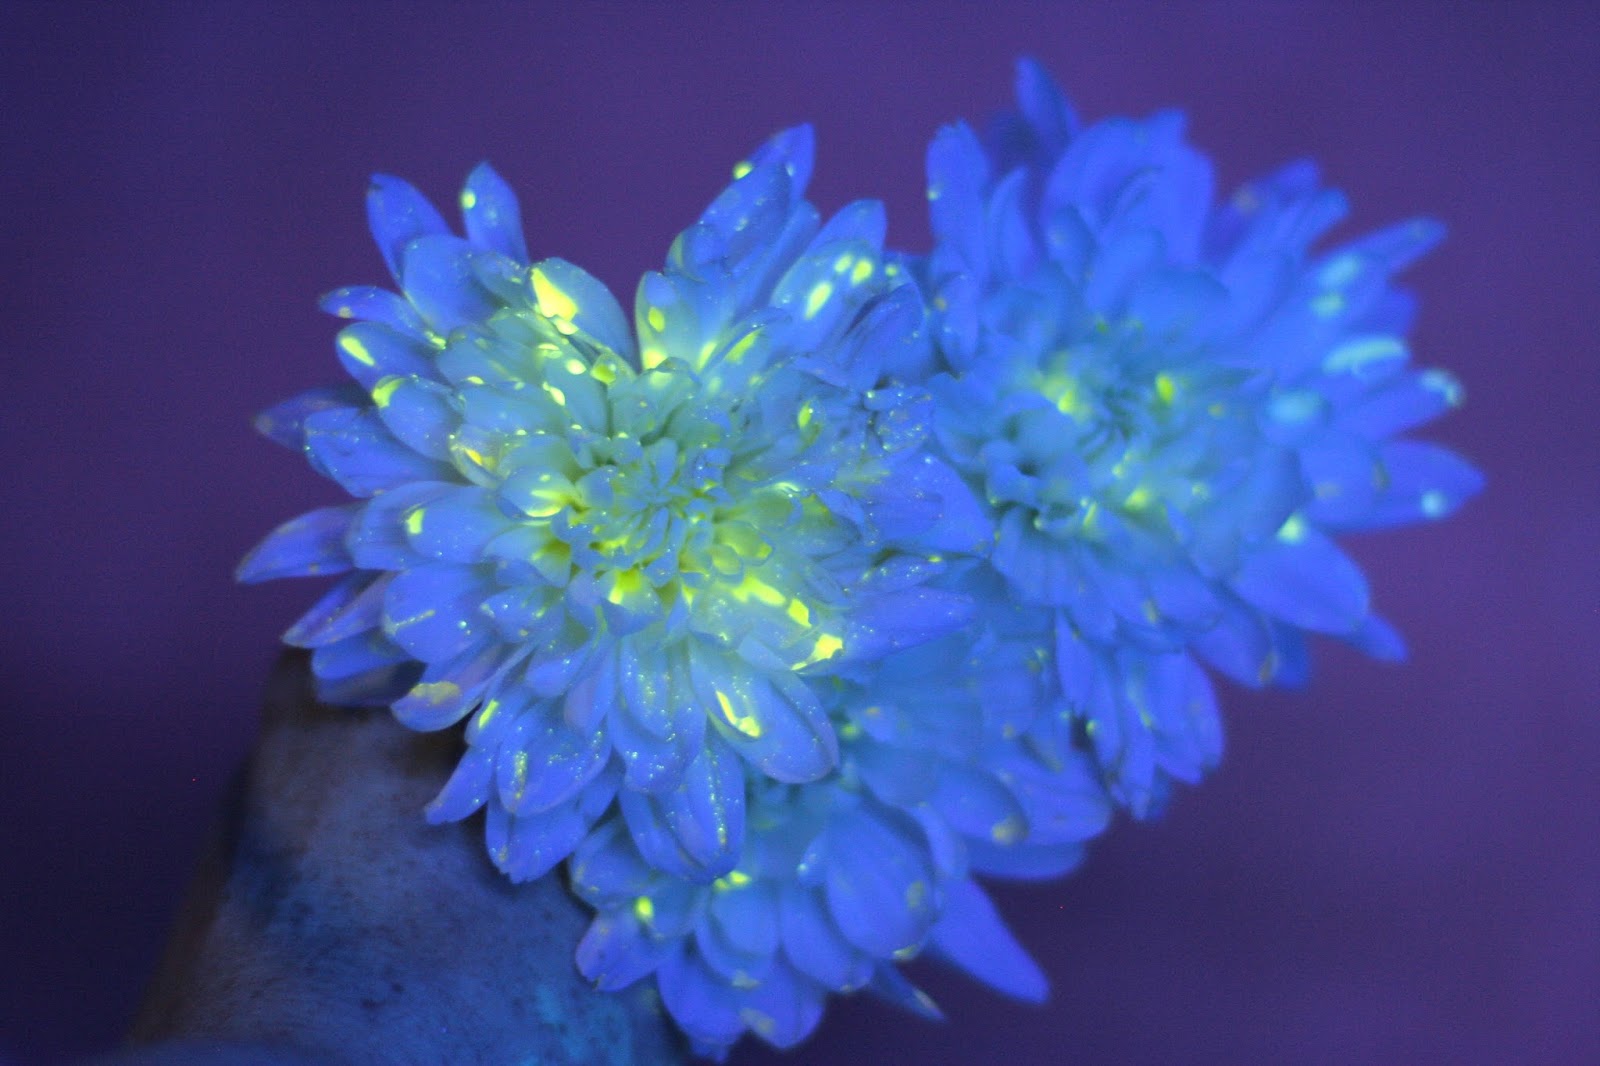
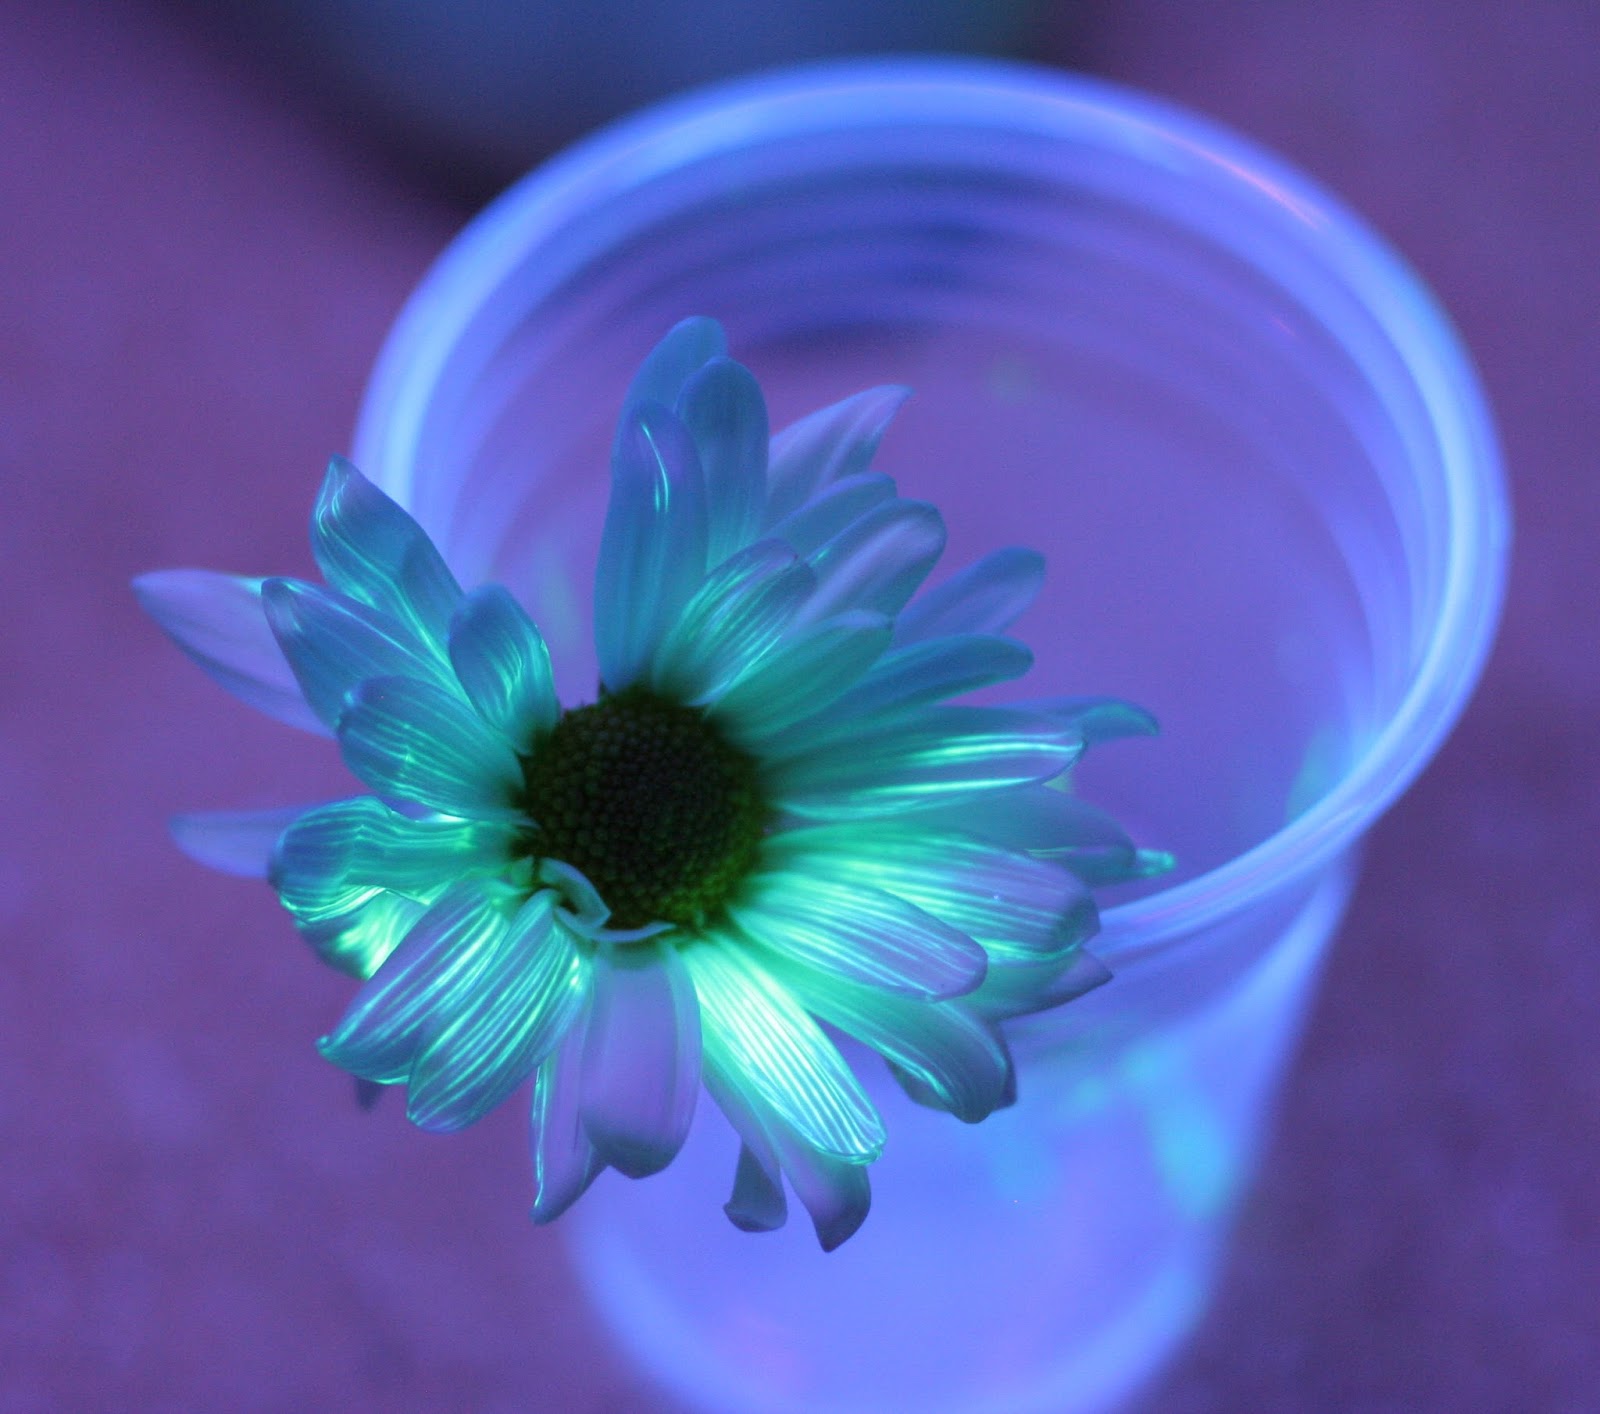
Our Black Glue Paintings (the blue and green water was done with Liquid Watercolors)

This post contains affiliate links for your convenience.

Now let's talk brands.  There are several options here:

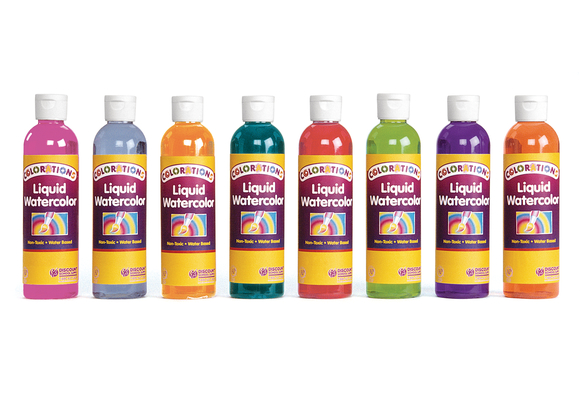
First up is Discount School Supply.  Their Colorations Liquid Watercolors are only available through their site and only available in the US.  They have lots of options and lots of color choices.  If you'd like to get a starter set, you could either get all the color of the rainbow in individual Colorations Liquid Watercolor Paint 8 oz. bottles or you could get their set of 8 Colorations Tropical Colors Liquid Watercolors.  We have all of them, and love them all - though the colors in the tropical set are pretty amazing, so that might be my recommendation.
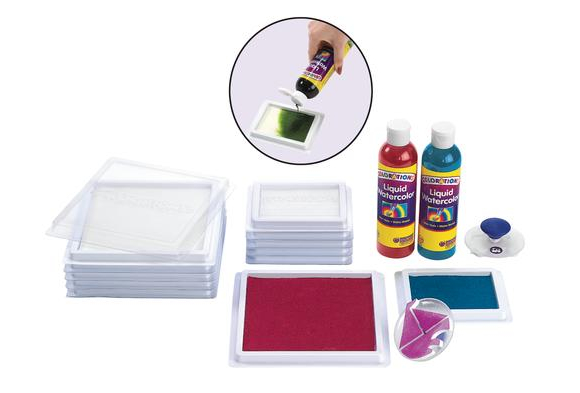
Oh and if you go with Colorations Liquid Watercolors - they can also be used to make your own stamp pads or refill their rainbow stamp pad - how amazing is that?  (We have the giant rainbow stamp pad and love it).


Next up is Sax Brand Liquid Watercolors.  We have a set of these and they are also amazing.  Sax is available through Amazon and also available in Canada through School Specialty.  Via Amazon you can buy Sax Liquid Watercolors by the bottle, or in an intro set of 10 bottles.

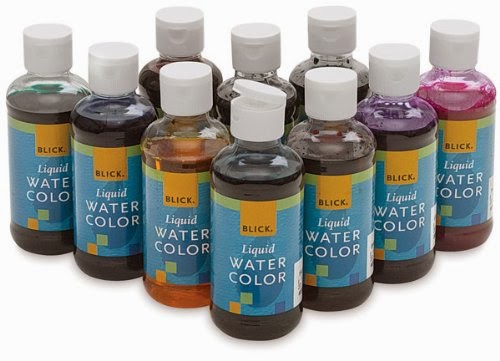
Next up are Blick Liquid Watercolors.  Though I haven't personally used these, they are highly rated everywhere I checked on the internet, so I feel fine mentioning them here.  They are available in Blick Art Stores to my knowledge, so if you happen to have one of those in town, you could actually get some in a store (they are wicked hard to track down in stores for some reason!).  You can also order a starter set of Blick Liquid Watercolors via Amazon .


Finally we have Color Splash Liquid Watercolors.  Again, I have not tried these, but they are highly rated everywhere I found them on the internet.  They also have the added advantage of coming in a teeny little one ounce set and being available to my UK readers via Amazon.


So there you have it!  Liquid watercolors = full of awesome.  I really do think we spend so much less on coloring things because food coloring is pricey and we use SO much of it to get great color.  Conversely an 8 ounce bottle of liquid watercolors lasts nearly an entire year for us.  And we color things all.  the.  time.  And you just can't beat washable color.  Trust me.

In Canada and looking for liquid watercolors?  Our readers recommend this shop.
In Australia and looking for liquid watercolors?  Our readers recommend this shop.

Curious about all the ways you can use liquid watercolors?
Click here to be taken to a list of all the projects we've used them in!!!

Follow along with Fun at Home with Kids on FacebookGoogle+Pinterest or Subscribe by Email or Bloglovin'!

All activities here are activities I feel are safe for my own children.  As your child's parents/guardians, you will need to decide what you feel is safe for your family.  I always encourage contacting your child's pediatrician for guidance if you are not sure about the safety/age appropriateness of an activity. All activities on this blog are intended to be performed with adult supervision.  Appropriate and reasonable caution should be used when activities call for the use of materials that could potentially be harmful, such as scissors, or items that could present a choking risk (small items), or a drowning risk (water activities), and with introducing a new food/ingredient to a child (allergies).  Observe caution and safety at all times.  The author and blog disclaim liability for any damage, mishap, or injury that may occur from engaging in any of these activities on this blog.

Catch a Star: Edible Glowing Gelatin Sensory Play

Wednesday, August 28, 2013

Gelatin is one of our favorite sensory materials over here.  We've done a baby sensory play with it, we've made it fizz like pop rocks, and we've frozen it.  So it was only natural that we'd make it glow.  :)


I originally tried this idea with floating ice stars, but they melted wayyyy too quickly.  So I went back to the drawing board and came up with these brightly glowing edible gelatin stars.  I was going to put them in a bin of water, but given X's penchant for getting INTO the sensory bins, I thought I might as well just make a pool in the bathtub and dump the stars in there.  I made the bath cooler than usual and the stars lasted quite some time.  S had a great time catching them.  They're slightly slippery in the water, so it takes a bit of doing to grab one.


Baby X loved grabbing for them, too, though he was much less successful in actually capturing them.


Here's S diving for another one!  As she'd catch them she'd smoosh them up in a big dramatic glowing star explosion.  Each smooshed star made the bath glow more and more brightly.


In the end, we just enjoyed a regular glowing bath.  X continues to be a big fan of the glowing activities.  :)

This post contains affiliate links for your convenience.

To make Glowing Gelatin you will need:

Silicone Star Mold (optional)

Before I go any further, let me clarify that while these are not going to hurt your kids if they get an accidental taste, you do not want to feed them the glowing gelatin.  This activity is designed for children who are mostly through mouthing, but maybe have an occasional slip-up.  :)

I think this activity would be just as fun with glowing gelatin cubes, etc, but we happened to have a silicone star mold and I was hooked on the idea of glowing stars.  Unflavored Knox Gelatin usually calls for 4 packets of gelatin to 4 cups of water - to make sure these would stand up to being soaked in water, I made them in a ratio of 1.5 packets to each cup of hot water.  I added half of one of Our Glowing Vitamins  for each cup of hot water - but my kiddos do not taste things anymore.  If you do have a taster, I would suggest adding a much smaller amount of the vitamin to be extra safe (and again, please don't let them sit there eating huge amounts of glowing gelatin!).  Once the gelatin has set in the fridge, if it's in a silicone mold, you'll need to loosen it.  I took a butter knife and ran it around all the edges and used it to gently push the gelatin away from the sides and bottom before popping it out - it may help to lightly oil the mold before pouring in the gelatin (I forgot to try that this time!).

This is part of a series on Glowing; other posts in the series include:


Follow along with Fun at Home with Kids on FacebookGoogle+Pinterest or Subscribe by Email or Bloglovin'!

All activities here are activities I feel are safe for my own children.  As your child's parents/guardians, you will need to decide what you feel is safe for your family.  I always encourage contacting your child's pediatrician for guidance if you are not sure about the safety/age appropriateness of an activity. All activities on this blog are intended to be performed with adult supervision.  Appropriate and reasonable caution should be used when activities call for the use of materials that could potentially be harmful, such as scissors, or items that could present a choking risk (small items), or a drowning risk (water activities), and with introducing a new food/ingredient to a child (allergies).  Observe caution and safety at all times.  The author and blog disclaim liability for any damage, mishap, or injury that may occur from engaging in any of these activities on this blog.

Flower Science Experiment for Kids: DIY Glowing Flowers

Monday, August 26, 2013

While doing the research on glowing that led to our creation of Safe and Edible Glow Water, I happened across a photo of a glowing flower.  The person had painted it with glow in the dark paint, but it got me to thinking - could I do the traditional science experiment where you change the color of the flower by soaking it in dye?

This post contains affiliate links for your convenience.

So I bought several white flowers and we set half of the flowers in tonic water and the other half of the flowers in a concentrated glass of our Glow Water.  We let them sit overnight and S and I excitedly checked the next morning with our blacklight ..but nada.  Bummer.  I decided to do a Google search to see if anyone had successfully made glowing flowers (other than by painting them) - because maybe it just couldn't work - and found this article on About.com.  Interestingly they list soaking the stem of the flower in tonic water as a way to make a flower glow.  We tried that method yet again and even tried using different flowers, but we never could get soaking the stems in tonic water to produce glowing flowers for us.

However, we did have success with two of the other methods listed in the About.com article.  The flowers below are mums and I soaked the flowers (upside down - I wrapped the stems with a damp paper towel) in our Glow Water for two hours.  The article claims that the petals absorb the glowing water/dye - but it looked a lot more like it just sits on the petals and ultimately dries.  Either way, it totally worked and made gorgeous flowers.  They are still thriving and glowing three days later.


These next flowers were made by the soaking method as well, only we soaked these upside down in tonic water .


Here's a closer look at a tonic water soaked mum.  I love the galaxy effect it gives - don't you?


The next method we used was soaking them in highlighter water.  We tried several different color of fluorescing highlighters - but only the traditional yellow dye was absorbed.  It created long streaks of glowing color on both the daisies and the mums.  To make the highlighter water, I smashed the pen open with a hammer and pulled out the center (in ours it was a cotton cylinder soaked with dye).  I ran water through it and squeezed out the dye.  The more concentrated you can make the highlighter water, the brighter the resulting flowers.  The highlighter water flowers are also doing well after three days.


After soaking overnight, we selected two of our mums that had been treated with highlighter water and split the stems open in the light.  We then looked at the inner stem under the blacklight and it lit up!  We could clearly see the highlighter dye traveling up the stem (I learned the cool trick of looking inside the stems from Momtastic's post on coloring flowers with food coloring).  I really loved that it was a bright glowing visual example of how the plants "drink" and transport the water and dye up to their leaves and flowers.


We traced the path the dye takes from the bottom of the flower up through the base leaves and out into the petals.  It was really neat to see it illuminated like this!!!


And because little hands just love to dissect flowers, S got to choose a few flowers to deconstruct.  I laid them on white paper so she could see the plant parts more clearly.


After that I invited her to make some art with the various flower parts by laying out some contact paper  sticky side up.


Once she was done, we had to see the glowing version of her art.


It made a beautiful suncatcher in regular light as well.


Follow along with Fun at Home with Kids on FacebookGoogle+Pinterest or Subscribe by Email or Bloglovin'!

All activities here are activities I feel are safe for my own children.  As your child's parents/guardians, you will need to decide what you feel is safe for your family.  I always encourage contacting your child's pediatrician for guidance if you are not sure about the safety/age appropriateness of an activity. All activities on this blog are intended to be performed with adult supervision.  Appropriate and reasonable caution should be used when activities call for the use of materials that could potentially be harmful, such as scissors, or items that could present a choking risk (small items), or a drowning risk (water activities), and with introducing a new food/ingredient to a child (allergies).  Observe caution and safety at all times.  The author and blog disclaim liability for any damage, mishap, or injury that may occur from engaging in any of these activities on this blog.

DIY Rainbow Pasta for Necklaces, Sensory Play, and Art

Friday, August 23, 2013

When I saw this big pasta at the Dollar Tree (when I was writing up our Under $20 Sensory Starter Kit from the Dollar Tree post), I knew it would be just perfect.  I mean, you could fit it on your fingers - what's not to love, right?


But, as is our penchant around here, we felt the need to make it a rainbow.  We love using our dyed pasta (and rice) for sensory play first and foremost.  It's soooo pretty.


This was an activity we did months ago, so X is little here.  :)  He was so excited to wake up to rainbow pasta (he'd been napping, thus the bed head).  He immediately figured out he could fit the pasta on his little chubby fingers.  He seriously loved this bin.  It was probably his second favorite sensory material ever (after cornstarch and water - that one is definitely the favorite).


Inspecting, as always.


He was totally impressed by my pasta fingers.  :)


S also had to show off her pasta fingers.

This post contains affiliate links for your convenience.

After playing a suitable time with the pasta itself, I got out our lanyard and invited S to make some necklaces.  I like using lanyard because it doesn't flop around like string, which I think makes it easier for little ones to use when threading/beading.


S's beautiful work in progress.


X's sister-made necklace!


S's handmade necklace.  She found two green pastas that were stuck together and HAD to use it.  Such a lovely necklace.


We also like to use our colored pasta for art projects.  It's one of the loose materials we always have available for the kiddos in our Art Room.

As far as how we color our pasta - it's SUPER easy.  You take a Ziploc bag, fill it with the dried pasta, add some Colorations Liquid Watercolors (What are Liquid Watercolors?) and shake until they're totally coated.  Once they are, we spread them out on wax paper to dry.  If you're curious about how to dye them using food coloring and or a comparison  between using food coloring vs. Colorations Liquid Watercolors check out our post detailing and comparing the two methods with rice (the same methods and rules apply to pasta).

Follow along with Fun at Home with Kids on FacebookGoogle+Pinterest or Subscribe by Email or Bloglovin'!

All activities here are activities I feel are safe for my own children.  As your child's parents/guardians, you will need to decide what you feel is safe for your family.  I always encourage contacting your child's pediatrician for guidance if you are not sure about the safety/age appropriateness of an activity. All activities on this blog are intended to be performed with adult supervision.  Appropriate and reasonable caution should be used when activities call for the use of materials that could potentially be harmful, such as scissors, or items that could present a choking risk (small items), or a drowning risk (water activities), and with introducing a new food/ingredient to a child (allergies).  Observe caution and safety at all times.  The author and blog disclaim liability for any damage, mishap, or injury that may occur from engaging in any of these activities on this blog.