I'm so excited to have Hayley of Minne-Mama - one of my favorite new blogs - guest post for me today. She shares such creative and fun activities for toddlers on her page! I hope that you will hop over to her blog after reading this and take a look around. Two of my favorite posts of hers are her Fine Motor Counting Caterpillar and her Contact Paper Rainbow.
If you scroll through my Pinterest or Facebook page, it would probably only take a few seconds to find something from Fun at Home with Kids! I am a huge fan of the incredible crafts and activities on the site, and I am so excited for the chance to guest post! My name is Hayley and I am a stay-at-home mama to a sweet toddler named Skyler (he will be two in just a few months). When we are not busy participating in different classes, or enjoying time outdoors when the weather allows, you will find us playing and creating at home. We especially enjoy art, sensory, and literacy activities, but we do whatever is of interest to my boy on a given day!
If you scroll through my Pinterest or Facebook page, it would probably only take a few seconds to find something from Fun at Home with Kids! I am a huge fan of the incredible crafts and activities on the site, and I am so excited for the chance to guest post! My name is Hayley and I am a stay-at-home mama to a sweet toddler named Skyler (he will be two in just a few months). When we are not busy participating in different classes, or enjoying time outdoors when the weather allows, you will find us playing and creating at home. We especially enjoy art, sensory, and literacy activities, but we do whatever is of interest to my boy on a given day!
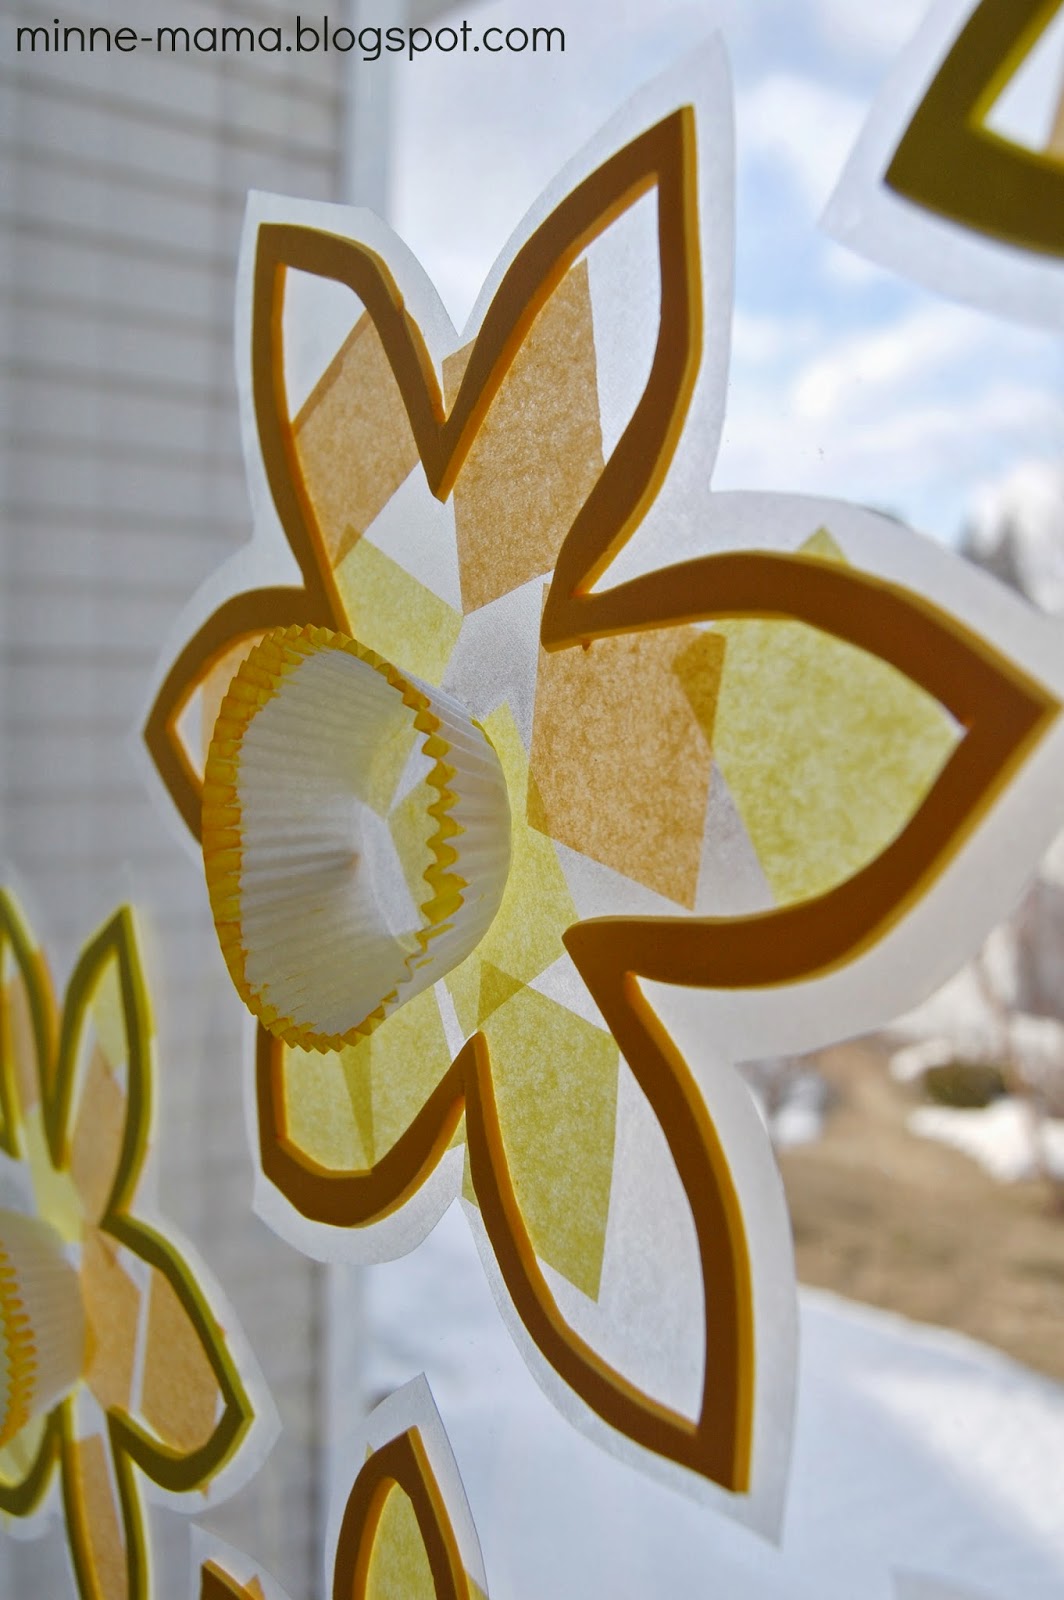
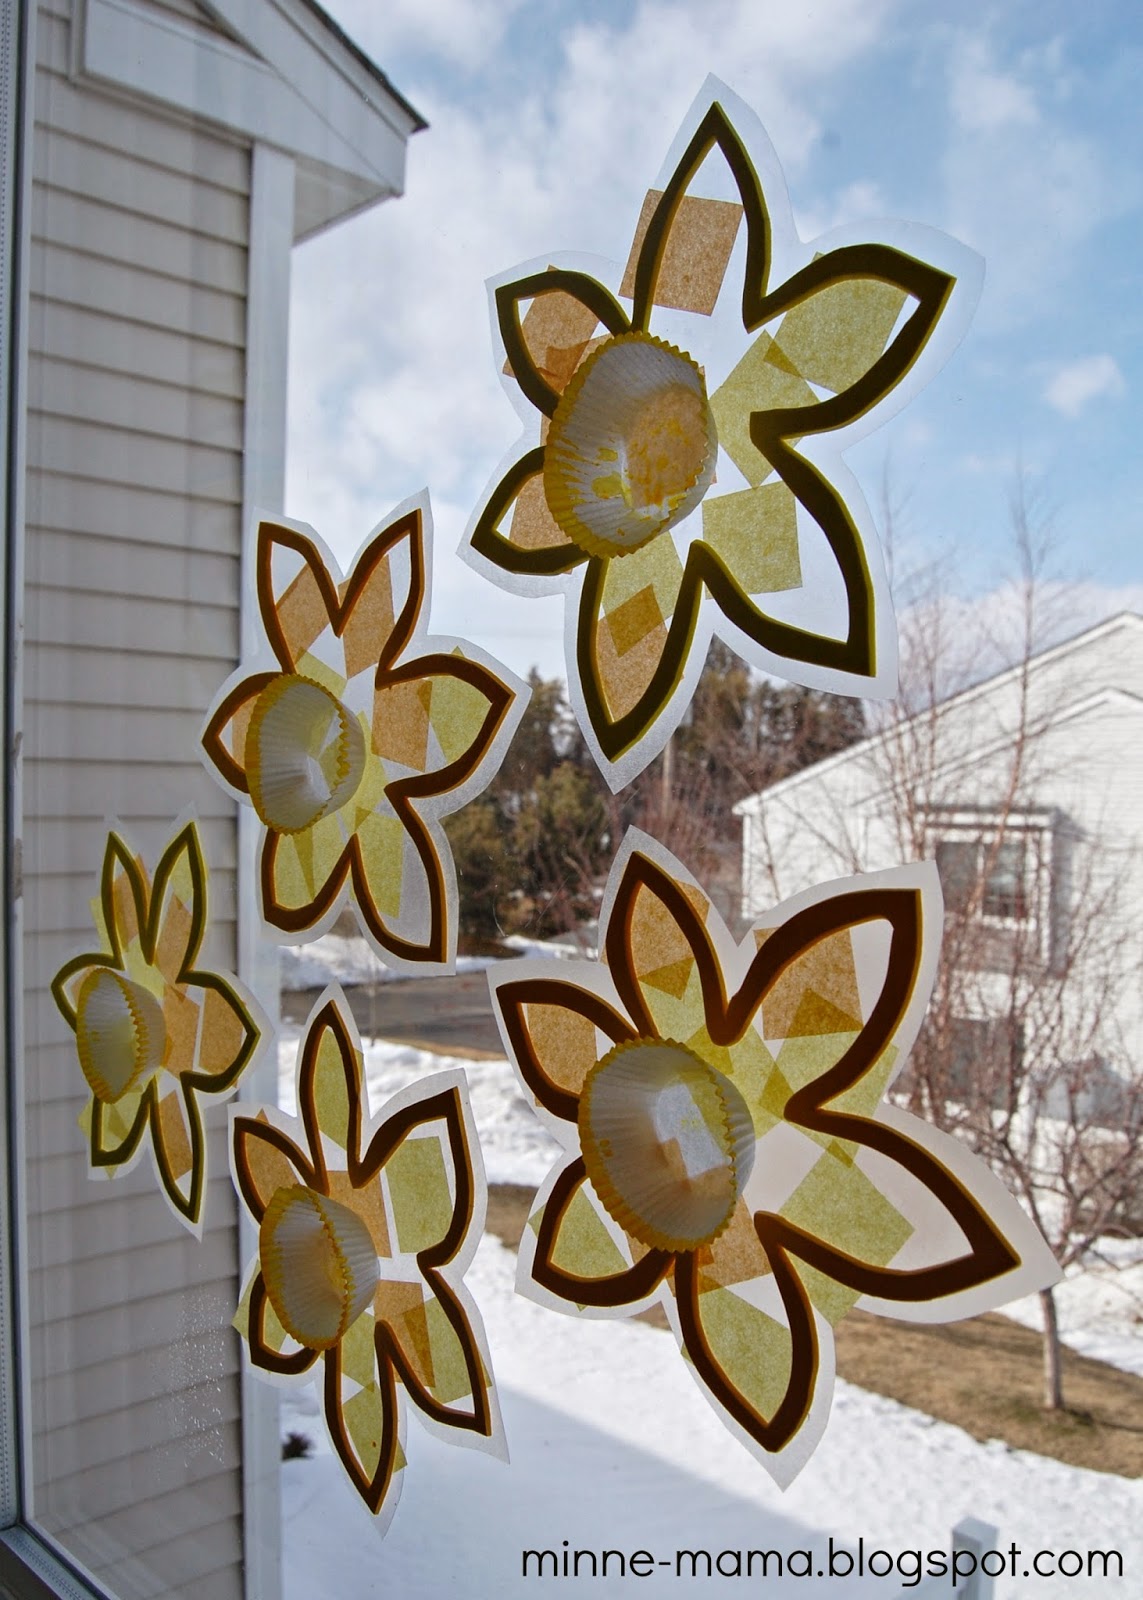
Even though it is technically spring, the weather in Minnesota rarely does what we hope it will. The warm weather that we are craving could still be weeks (or months) away, so in the meantime we have been doing a lot of spring inspired crafts and activities to hold us over until we can enjoy the real thing. These fun floral sun catchers are bright and cheerful to look at, especially when the view outside our windows is not so desirable!
To start our sun catchers, I cut out flower shaped frames using adhesive foam. I traced the bottom of a muffin liner (eventually the trumpet of our daffodil) and lightly drew six petals surrounding the center. I cut out the one drawing and traced it onto the other sheets of foam.
Once I had all the flower shapes, I cut out the center by pushing the tip of the scissors into the center and cutting around the inside of the flower, near the edge.
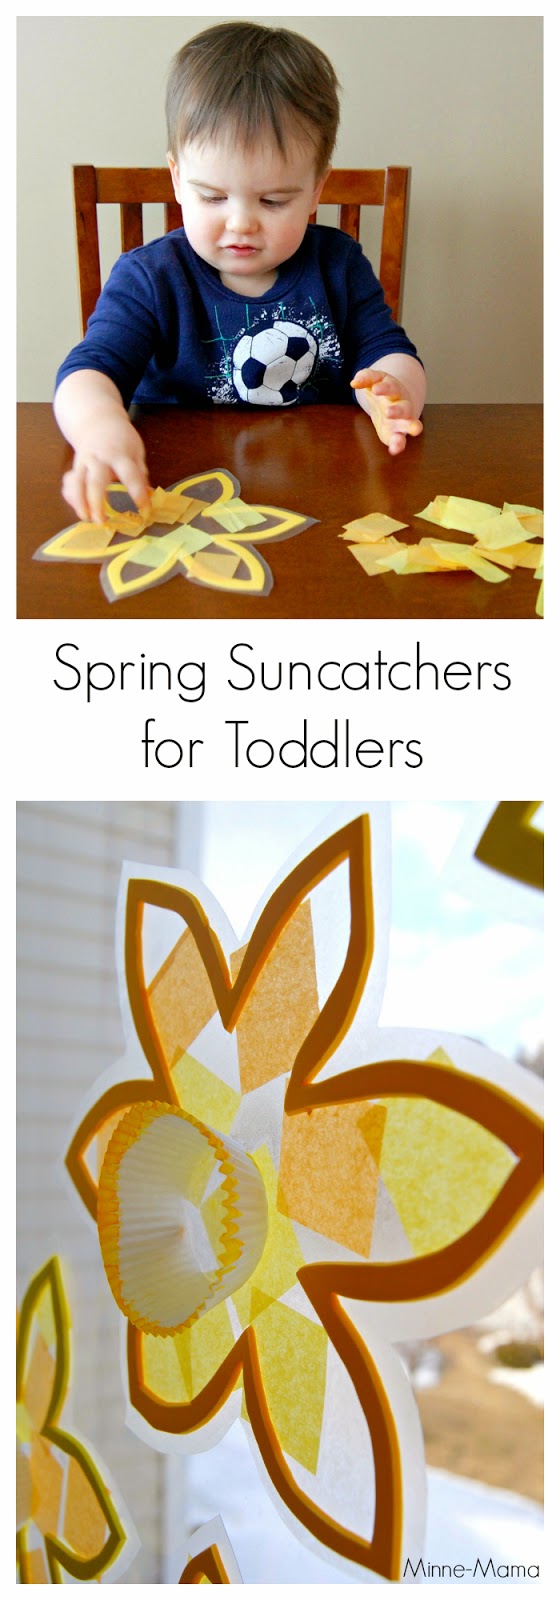
To complete our sun catchers, I removed the paper lining off of the flower frames (the adhesive foam is incredibly sticky and so easy to use for this project - we also used it to make fun pom-pom Easter eggs - but you could use regular foam or yellow construction paper to frame the flowers as well) and placed them on the non-stick side on a piece of contact paper. To decorate our flowers, Skyler used tissue paper in different shades of yellow, and liquid water colors (which I ran out and bought after reading Asia's post on how wonderful they are! This was out first time using them).
For the trumpet of our daffodils, Skyler dipped some miniature muffin liners into the yellow watercolor paint (they are just as great as expected, so vibrant and no staining to worry about!) Skyler was very excited for this part of the project. He remembered this method from a Valentine bunting we made!
Contact paper is one of our favorite materials to create with! We use it whenever a new season or holiday rolls around. The two ways we use it most are with the sticky side out, creating a play area on our dining room door (for Christmas, Valentine's Day, and spring/St. Patrick's Day) and similar to this craft by making sun catchers and sticking the contact paper directly onto a window (for Valentine's Day and another flower inspired sun catcher). Contact paper is the best! I especially love using tissue paper because it sticks so easily and when the sun shines through it is absolutely beautiful - and can be a great way to show color mixing with primary and secondary colors!
Skyler happily filled his flowers with the yellow tissue paper. He didn't cover all of the space, so we were able to stick them directly to his window. If your contact paper ends up entirely filled and there is no stickiness left to adhere it to the window, just use a small amount of tape!
As soon as the flowers were complete, Skyler helped me place them on the window - he had a blast with that part of the project! Once they were all on, I glued the back of the muffin liners and stuck them in the center of each flower. Our bright floral sun catchers were complete! Here are some pictures of them from every angle because I love them so much! :)
Skyler spent a lot of time looking at his new decoration and telling me about them "Yellow flowers, yellow pretty!" They are a big hit with my little one, and I think they are great, too! These sun catchers are so interesting to look at with the different layers and various shades of yellow. (If interested, more of Skyler's room can be seen here, here, here, here, and here - I always love looking at nurseries, and maybe you do too!)
Between the smooth and slightly bumpy contact paper, the crinkly paper, and the squishy foam, these sun catchers are not only fun to look at, but very exciting to touch and explore!
If you would like to follow along with Minne-Mama in the future, we can be found on Facebook, Pinterest, and Instagram!
Thank you again Fun at Home with Kids for the wonderful opportunity!


Gorgeous! I love Hayley's blog!
ReplyDeleteIsn't she awesome? Thanks, Dyan!
DeleteAhhh - you two are so sweet!! Thank you, thank you!!
DeleteI love the flowers! Great idea :) And such a bright spring window decoration :)
ReplyDeleteAren't they lovely? Hayley has so many fabulous ideas!!!
DeleteThank you, Anik, for the kind comments both here and on Minne-Mama!
Delete