One of our favorite things about the holidays every year is making homemade ornaments. Typically we make several batches of new ornaments each year to decorate an enormous tree (yes, we're those people with the 9 foot tall tree...we may or may not have been excited to find a house with vaulted ceilings for this exact purpose) and then at the end of the season we choose a handful of ornaments to keep for the next year. That way there's room for both new and old ornaments on the tree. This year we've got a few new recipes for ornament doughs to share with you - and first up is our chocolate ornament dough! This year is already super exciting because little X is finally old enough to actually help in a (mostly) meaningful way with our ornaments.
Both kids freaked out at the chocolate dough. It both looks and smells like chocolate - YUM! It isn't edible, so it's a good idea to bust out some hot chocolate and holiday music and settle in to enjoy being surrounded by CHOCOLATE! :)
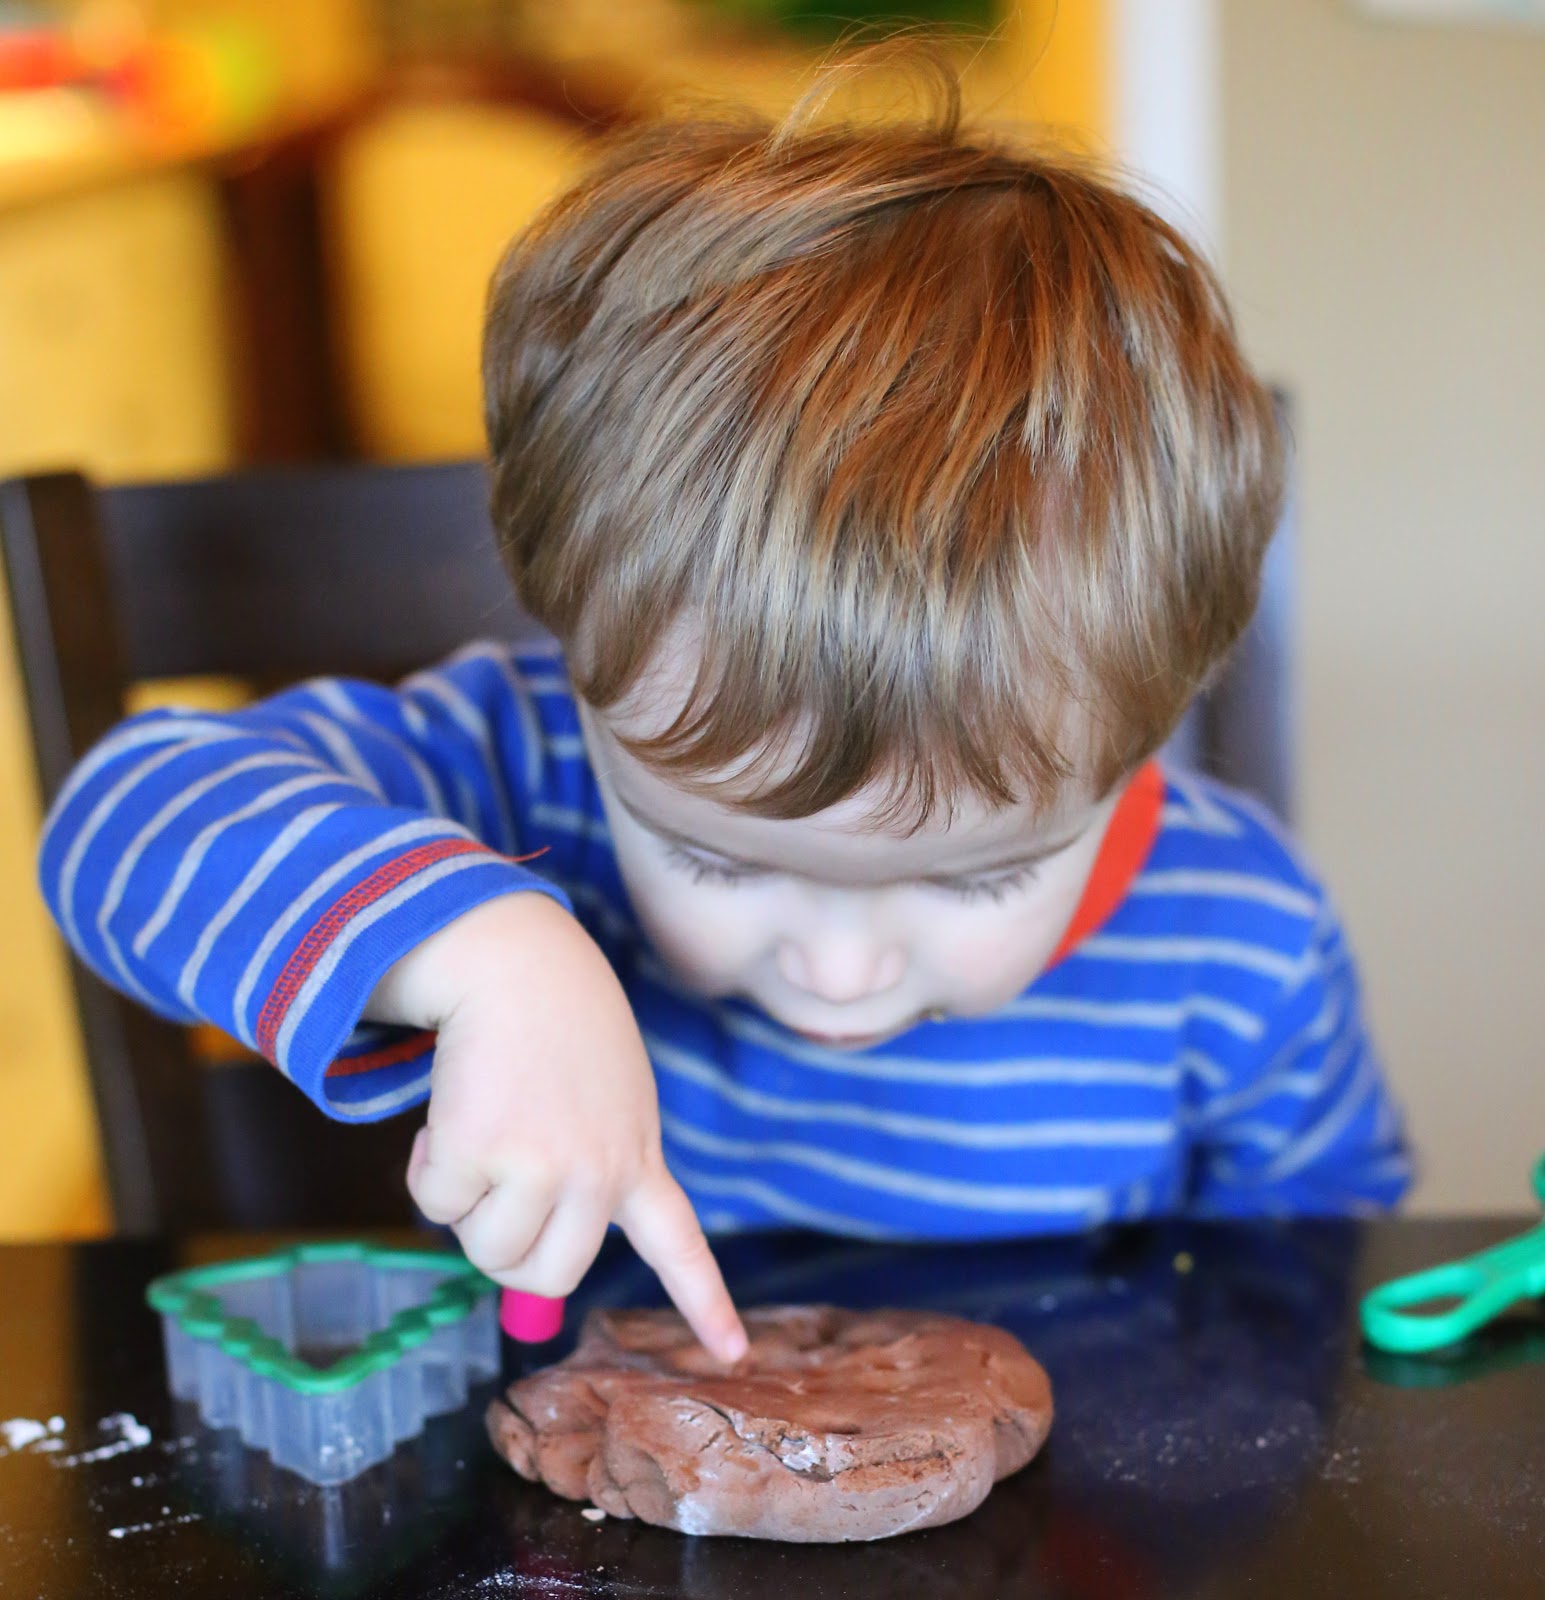
X reallllllly enjoyed stamping....but his dough sort of looked like this. After letting him explore for quite some time, I helped re-roll the dough and guided his hand to do one solid stamp with the cookie cutter.
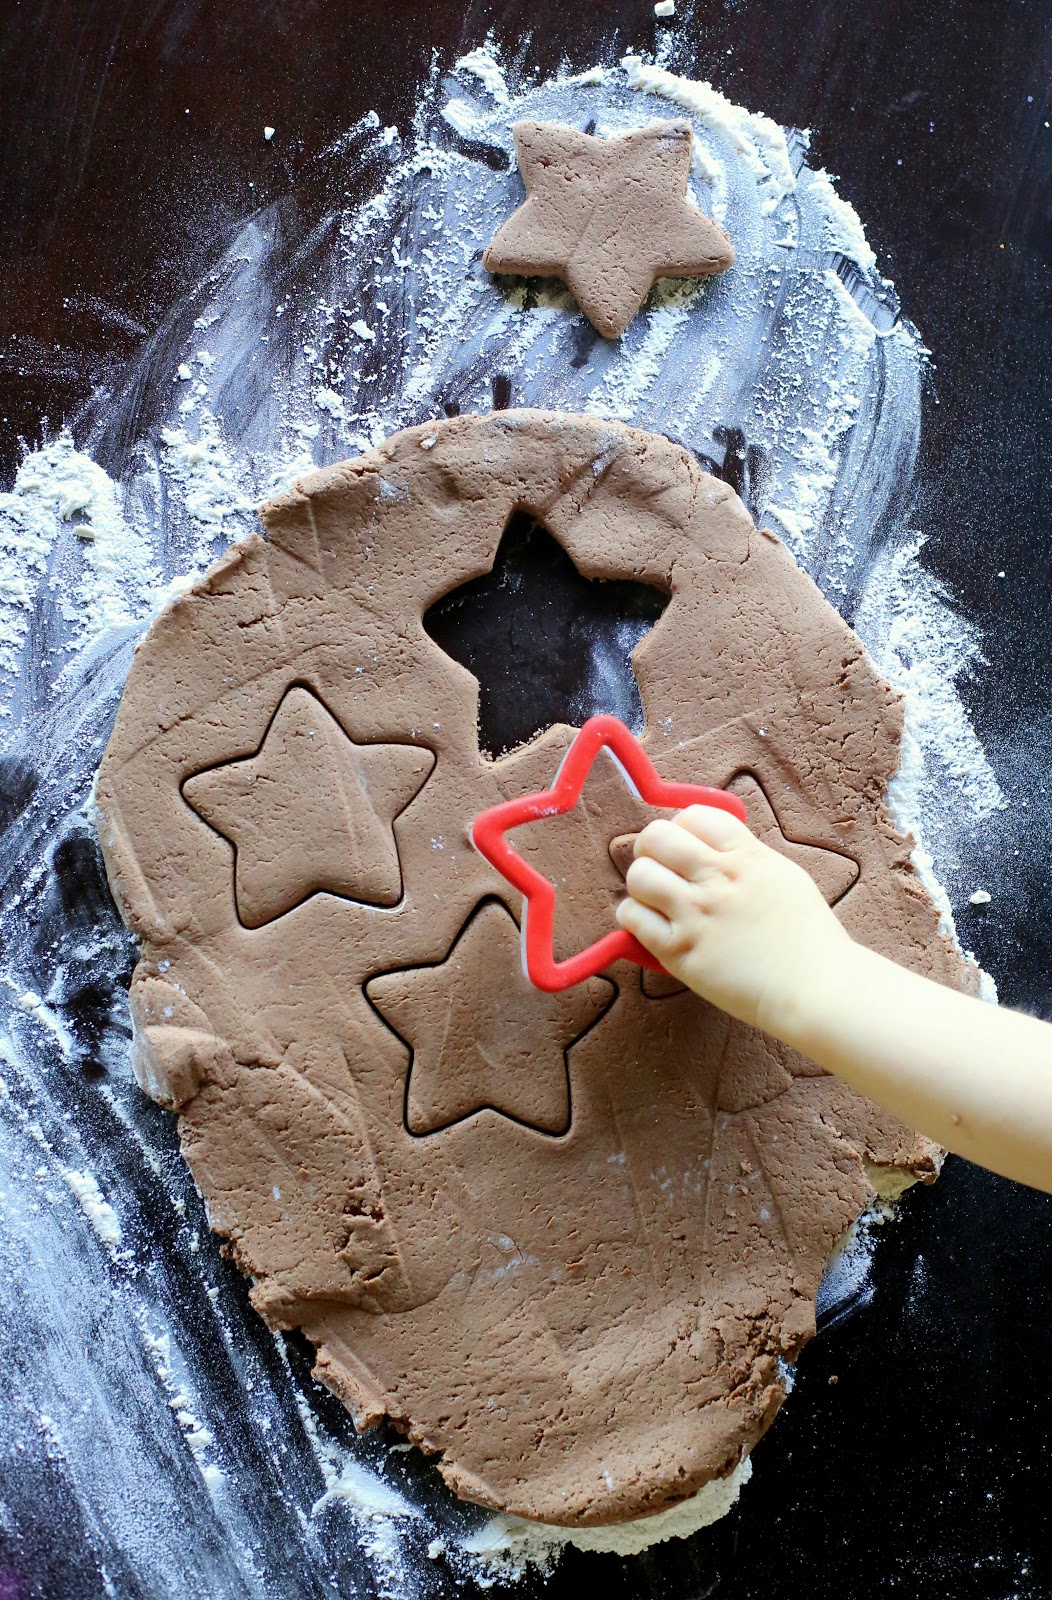
And he is an EXPERT dough peeler. Interestingly peeling up the excess dough is still one of S's favorite parts of ornament making. I guess they're related. :)
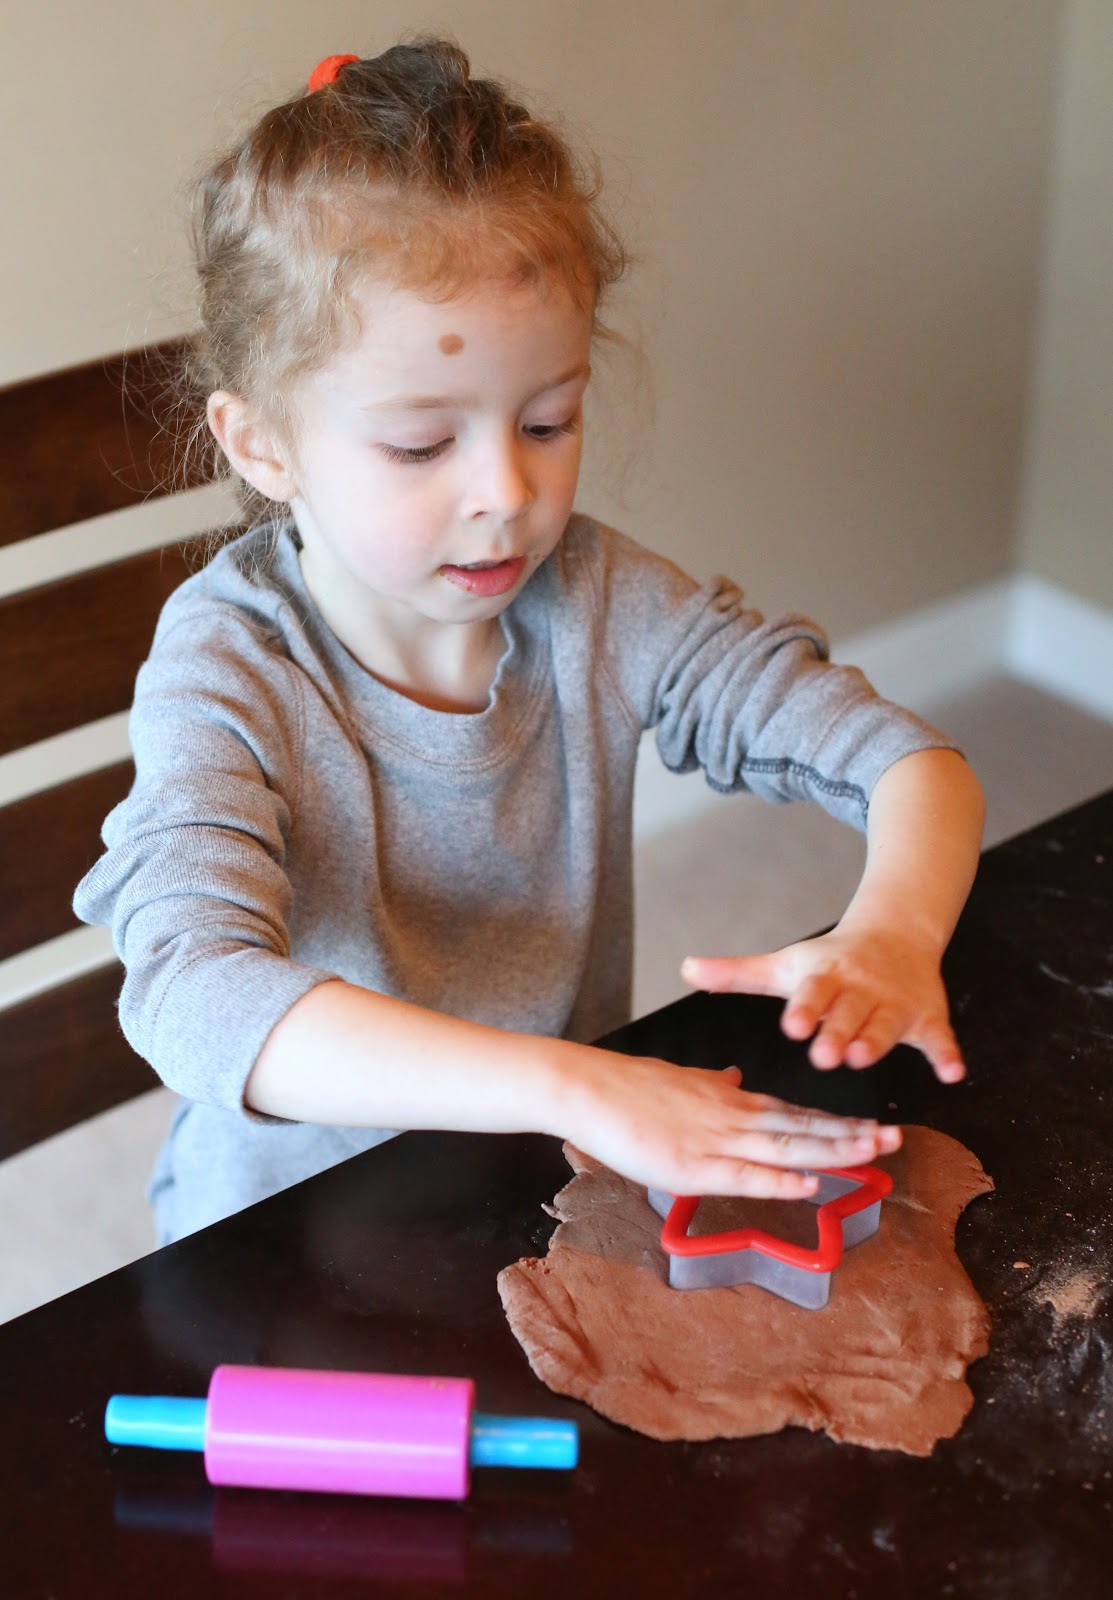
S really enjoyed the scented dough and kept exclaiming "OH YUM!" and sniffing away. She's a solo ornament pro by now - the only part I help with is punching holes in the ornaments (I use a drinking straw and poke completely through then blow out the dough bit at the end of the straw which the kids think is HILARIOUS).
It's such a smooth and rich looking dough. And not only does it smell great uncooked, but if you choose to cook your ornaments to speed up the drying process - it makes your whole house smell like a chocolate factory!!!!
This post contains affiliate links for your convenience.
To make your own chocolate ornament dough, you'll need:
Flour
Salt
Water
Add 2 cups of flour, 1 cup of salt, and 1/2 cup unsweetened cocoa powder to a bowl and mix well. Add 1 and 1/4 cup water and mix. Unless you have a stand mixer, you'll probably need to hand knead to completely mix the dough. You are aiming for a dense playdough-like texture that is NOT sticky and is NOT crumbly. If your dough is too sticky, add more flour a Tablespoon at a time until it is no longer sticking to your hands. If your dough is crumbly, add more water a Tablespoon at a time until it holds together. This dough is pretty flexible, so it's a great one to have kids measure. If you have a little more or less salt or cocoa powder it doesn't really matter, and you can always correct the flour and water after.
We like to lightly flour our table before having the kids work with the dough to decrease frustration (it's much easier to peel dough/ornaments off of a floured surface). After you've made all your ornaments, you can choose to air dry them for around 48 hours (I recommend flipping them over at the 24 hour mark) or you can cook them in a 200 degree oven for at least 2 hours (longer if the ornaments are quite thick, and possibly less if they are very thin....though most kids don't make thin ornaments, hah).
We decorate the dried ornaments with glue and glitter, or with acrylic paint, or a combination of all three! Really just about anything goes. And salt dough is great at lasting for years, so long as it is stored in a dry container and not exposed to moisture in any way.
Follow along with Fun at Home with Kids on Facebook, Google+, Pinterest or Subscribe by Email or Bloglovin'!
All activities here are activities I feel are safe for my own children. As your child's parents/guardians, you will need to decide what you feel is safe for your family. I always encourage contacting your child's pediatrician for guidance if you are not sure about the safety/age appropriateness of an activity. All activities on this blog are intended to be performed with adult supervision. Appropriate and reasonable caution should be used when activities call for the use of materials that could potentially be harmful, such as scissors, or items that could present a choking risk (small items), or a drowning risk (water activities), and with introducing a new food/ingredient to a child (allergies). Observe caution and safety at all times. The author and blog disclaim liability for any damage, mishap, or injury that may occur from engaging in any of these activities on this blog.

.jpg)


You talk about my kids looking big...X looks so much more little boy than little toddler in these pictures! :)
ReplyDeleteIt's true - he's getting SO big!
Delete