Disclosure: I was compensated by Oscar Mayer for this post and the creation of this kit. I was not swayed in any way by compensation! As always, I only take sponsored post opportunities that I love.
This post contains affiliate links for your convenience.
When I was asked to be a part of Oscar Mayer's new #Sanewich campaign, I was thrilled. I am always excited to promote screen-free ways to entertain kids - and this campaign is all about just that! My dinosaur-loving daughter, constantly looking for new opportunities for dinosaur play, was the inspiration for our Waiting Room Kit.
Whether it's a car appointment, a doctor's appointment, a dentist appointment, or any of a multitude of other daily-life appointments, our kids often need to spend a fair bit of timing waiting in waiting rooms. Many times there's not a whole lot availabe to occupy your kiddos while you wait. I designed this kit to be small and portable so it can easily fit in a purse or a diaper bag and I also made it EASY to make. I timed myself and start to finish (using the free template below), it took under 15 minutes to complete. Easy is good. :)
To start, let's take a closer look at our Waiting Room Kit!
This is what our DIY playmat looks like all rolled up. Nice and small.
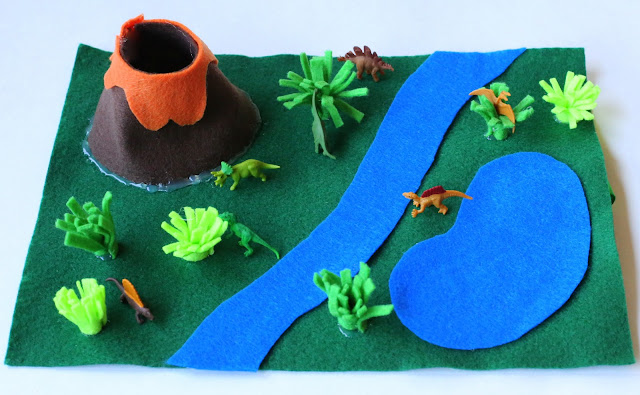
And unrolled. It's got two water features, some healthy green plants for eating (and hiding), and an ominous volcano. Not only do the dinosaurs need to take care around that piping hot lava, but they also need to be sure not to fall inside the volcano! If they do, they'll need some tiny hands to reach and save them. :)
Another view of the natural wildlife.
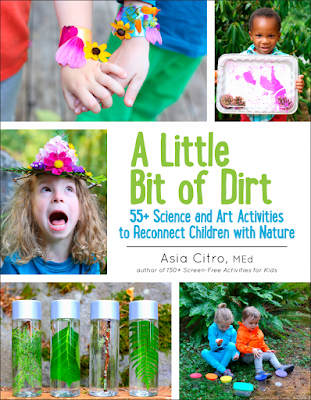
As an extra precaution against boredom, you can also include a dinosaur activity book in your Waiting Room kit.
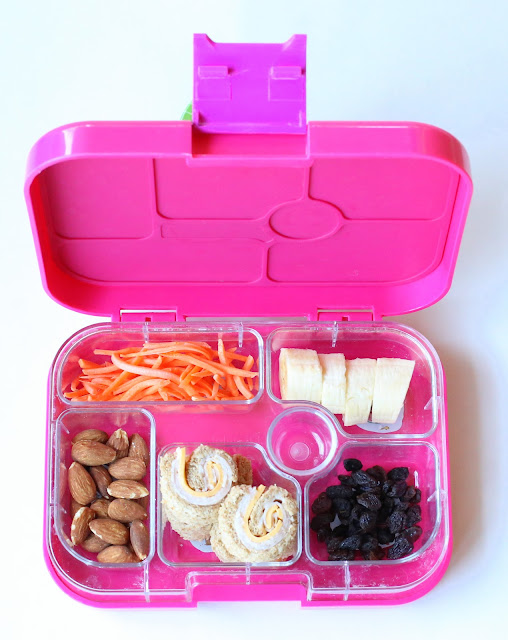
And having snacks handy is always a win with the littles. Kraft has a ton of great recipes (snack and otherwise) available here, including the turkey and cheese pinwheel bites pictured below, if you'd like some creative snack inspiration.
Are you ready to make a Dinosaur Playmat now? I promise, it's easy peasy.
You'll need the following:
Sharp scissors
One 9"x12" Felt Sheet in each of the following suggested colors:
green, light green, blue, brown, and orange
Hot glue gun
Ribbon scrap
Please note that due to the use of scissors and hot glue, an adult needs to assemble this playmat.
1. Follow the directions on the free printable template to cut out all the necessary pieces.
2. Hold the left and right volcano edges together in one hand (this will form the volcano cone) and apply a line of hot glue along the seam. Allow the glue to cool.
3. Along the bottom (un-fringed) portion of the plants, apply a line of hot glue. Quickly roll up the plants and allow the glue to cool.
4. Place the volcano, stream, and lake on your untouched green 9"x12" piece of felt. Once you have them positioned as shown in the above photos, glue them down with hot glue.
5. Place your plant life throughout the remaining space. Add a large bead of hot glue at the base of each plant to glue it down.
6. Once the glue has cooled on the top of your mat, flip it to the back side.
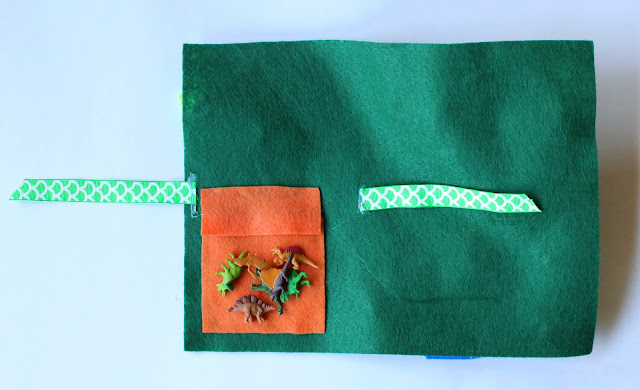
7. Glue the orange square (bottom pocket) along the side and bottom edge and then place the top orange rectangle slightly above and apply one line of glue along the top edge.
8. Place and glue your ribbon scraps in roughly the following places:
9. Store your tiny dinosaurs in the orange pocket, roll up your mat and tie the ribbon, and you're all set!
Looking for even more great kits for a variety of situations? Check out the Oscar Mayer #Sanewich site and follow Oscar Mayer on Pinterest to find even more kit inspiration!


I had signed up for your newsletters and looked forward to them every Sunday. I haven't received any in awhile and wondered if you are still posting them? I've had so much fun doing the activities with my grandchildren. Thanks for the amazing ideas.
ReplyDeleteHi Sue! Thank you so much for the kind note! Unfortunately the cost of the newsletters was too high (the time put into making them every week + the cost of the service used to make and deliver them), so I discontinued them. Things have been a bit quiet around the blog because I was finishing up our new (2nd) book -- The Curious Kid's Science Book -- but it's off to the printer now and I'm hoping to get back to posting more regularly very soon! :)
DeleteOh I'm loving this easy Dino play mat! Thanks for taking time to post all the details. This will be a fun add to our busy bag activities!
ReplyDeleteThank you! :) :) :) And a great idea to use it as a busy bag - love that.
DeleteWow, this looks identical to a travel mat I designed in 2010. Other people modified it and gave me credit. Perhaps you saw their design and modified it since my blog is now defunct. This is not an original design. Please give credit when you modify someone else's design.
ReplyDeleteOh no! I'm so sorry if there's a likeness - I designed it in my living room not working off anything else, but am happy to link to yours if you give me the link! Sorry for any confusion. I suspect that dinosaur themed playmats always have the same items, so they probably all end up looking a bit similar?
DeleteGiving credit where credit is due lady,
DeleteIt's all about the kids. Get your head out of the celebrity popularity. I know your not famous, just deal with it.
Just sayin
I love your blog and now have serious bento box envy. where can i get one of those pink containers you packed all the goodies in?
ReplyDeleteHahaha thank you!!! You can find them on Amazon: http://amzn.to/1MDvtzc We love them because S only eats a little bit of each thing. :)
DeleteJust made three of them for three awesome boys! I have to say I have no idea how you managed to get one done in 15 minutes though!!! I made ours only slightly more elaborate, but printing the templates, then tracing, then cutting etc was fairly time consuming. Do you have any shortcut tips or tools? Recommendations for glue guns or scissors?
ReplyDeleteThanks do much for what you do!!!
:)
Lisa
Oh no! Maybe I'm just weirdly fast since I work with felt all the time? Let's see -- I cut out the pieces from the template, then used super sharp adult scissors to cut out the shapes. From there I used my little mini glue gun that has high and low settings (they are very generic - you can find them at a craft store or on Amazon) on high to glue everything. I blow on it to make it set faster. Hope that helps speed the process up if you try it again! :) And thrilled that you made 3 for 3 wonderful boys! :)
Delete